Sunday, April 1, 2012

Mar 2012


Here we are again. Material Girls are busy as ever. We met this week at Monica's where we had a show and tell and also a spring cleaning swap. We cleaned our quilt rooms and brought all those gentle used and completely unused items that at one time we thought were so necessary for our quilting happiness. Now we are happy to clear them out of our rooms and let our fellow quilters enjoy them. We also shared handy tips for either quilting or cleaning and Monica had a nice handout for each of us with lots of ideas. Thank you Monica. We all learned a lot!
Here are the pics:

 Made by Monica for her new granddaughter.

 The beginnings of our swap


The ultimate cloth info shared by Monica. This is her go-to cleaning cloth that never leaves streaks and withstands wash after wash. We will be ordering them in bulk to save on their cost.

Rachel's cloth forget-me-not that she made for her church Relief Society birthday celebration
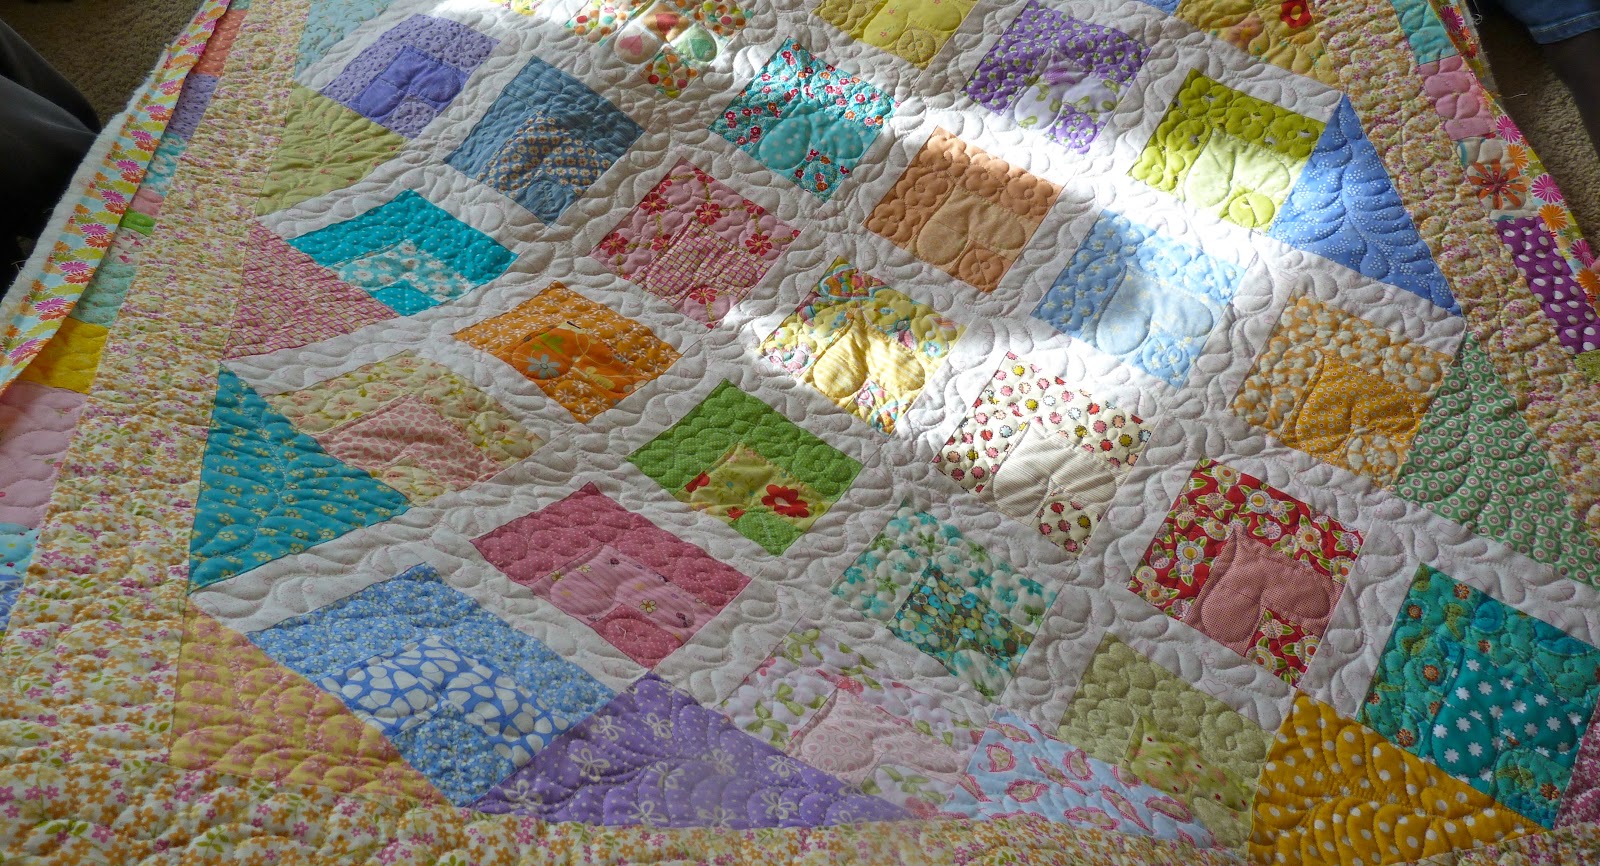
 Kathi finally got her quilt quilted thanks to Tracey's long arm
 Rachel redid her daughter and their "adopted" daughter's room. These are the beautiful quilts the girls get.
 Close up

 One of them was backed with minty fabric

Kelley's wedding gift quilt
 Sherry's table runner
 Maruene's quilt for a friend
 Another Maurene quilt
 Maurene and Jeanie took a class in St. George and learned an easy technique for making this lone-star
Maurene's quilt
Baby blanket by Jeanie
Jeanie finished her snowman quilt.
Jeanie's lonestar quilt

Corrie's quilt
Corrie's quilt

Thursday, March 1, 2012

Feb. 2012-5 Minute Bread, Italian Cream Cupcakes

February 29, 2012 Leap Year Day!
Lori Schroath was our host for this meeting. The day started off with a thunder storm, hail and snow. We were glad we could still have quilt group!
Here are the show and tells from this meeting.
A completed donation square top. This quilt was sewn together by Diane Spackman with the help of friend Michiko Hardy. Sewing these together with another is enjoyable~one can sew, one can pin. This top will be tied and donated.
Diane's cathedral windows and a link included for an easy tutorial.
Diane won this pin cushion online, but what she likes most is the cute jar.
Kelley, from Alaska and visiting with us for the first time shows us her round robin quilt from her Alaskan quilt group. Each quilter added a new border.

Rachel's material flowers.
Rachel's quilt with wool flowers.
Close up.
Rachel's chicken quilt.
Nancy's baby boy quilt made from 2 charm packs or the Reunion line by Sweetwater. The back of this quilt is a flannel. This quilt is for Nancy's niece.
Lenette's blue and white Floridian quilt.
Back of quilt.
Lenette's hand crocheted pillowcases.
Jeri's wool table topper.

Kelley's quilt top. This was pieced from a jelly roll.
Kelley's scrappy quilt~half square triangles
Kelley's heart quilt.

Close up. Notice that the heart is visible because of the quilting design, not the piecing.
Monica's apron that she made and gave as gifts for those who helped at her daughter's wedding reception. The flower is detachable with a snap.
Lori's wool table topper.
Lori's wool table runner.
Lori's star quilt that she's hand quilting.
Back of Lori's star quilt. She hand embroidered the words.
Lori's felted wool ball. She uses it in the dryer to speed the drying process and as a toy.
Our project for the day, a pattern by Rachel and Lori from their newly formed company called The Cackling Hens.
We exchanged wool squares so we can make this table topper. Thank you for the pattern!
Lori demonstrated the wool dying process. So easy! Here's the link to the full tutorial from an earlier post.


For lunch we had hot soup, yummy artisan bread made using the 5-minute method in this book.
Then we topped everything off with these beautiful Italian Cream Cupcakes made by Lori.
This recipe is found on the  website confessionsofacookbookqueen.com.Until next time ---(March 21)...see you then.

Wednesday, February 8, 2012

Wool Dyeing Tutorial

Over the last few years we have had some great wool projects shown at our Material Girls meetings. I always wanted to try one but $30 a yard the wool was way out of my budget. Even when I found a bit on sale and thought about attempting a project I could never find the exact color I wanted.

All this changed when I discovered two things 1)Savers/DI/Goodwill and 2)Wilton Dyes. After my first trip to the DI for wool I was hooked; $5 for a 100% wool shirt, yes please! I went a little crazy but still had a problem because despite combing the racks I still couldn't find all the colors I wanted. Kool-Aid and Wilton Icing colors to the rescue! After a few hours reading up on other's dyeing experiences (mostly wool yarn) I decided to give it a try and surprisingly it worked FANTASTIC! I ran straight over to Rachel's house and next thing I knew we were up to our elbows in dye baths and had a rainbow of wool in beautiful colors.


A few months ago Rachel brought her beautiful rainbow of wool and we talked about the dyeing process, but I thought it might be helpful to do a little tutorial in case you are interested in trying it for yourself. The process is very simple and you can get great results using materials you probably have on hand, no special tools or dyes needed.

Materials:

Wool Fabric (100% wool will dye the best however Rachel has gotten some interesting results with wool blends. If you are going thrifting the best places to look for wool garments are in ladies coats, skirts and blazers and mens suit jackets)
Large dutch oven for dye bath
Clear or white glass or bowl for mixing colors
Spoon or knife for mixing color
White vinegar
Food Coloring (Wilton Icing Colors, Kool-Aid or plain food coloring)
Gloves (unless you want a green thumb :-)


Ok, lets get started....

1. Soak your wool in a sink or bowl of hot water for at least 10 minutes. This helps the color to distribute evenly later.


2. Fill your dutch oven with enough water to cover your wool once it's added. I usually just fill it about 5". The amount of water isn't as important as it is to have enough to soak your fabric and allow for a little movement of the dye solution. Add about 1/8 cup of white vinegar if you want a modeled look. Bring to a simmer.

3. While you wool is soaking and your water is heating mix your color in a white or clear bowl filled with about 1/2 cup of warm water. I like to use a clear or white bowl because it is easier to see what color you are making. Because there is no real "recipe" for mixing the colors this is nice. Depending on the intensity of color you want you will probably end up using about 1/2 teaspoon total dye (but don't quote me on it). Stir the dye until dissolved. You can test your color by dipping a paper towel in the solution. This is not exact but will at least give you an idea of what color you are concocting. I have found that unless you want a very vibrant color it is best to add a little brown to almost any color. If you are using Kool-Aid, purple works well to mute the colors a bit.


4. When you are happy with your color add it to the simmering water. If you have added vinegar already it will smell, sorry about that :-) Give the mixture a little stir to make sure any bits of color are all incorporated. Squeeze out your soaking wool and add it to the dye bath. Give that a little stir too to make sure all of the wool gets wet. It should start taking up the color immediately and if it has been sufficiently soaked prior to dyeing it should not float after a bit of stirring.


(this wool still needed a little stirring to sink in. Any floating like this will create more modeling in your fabric)

5. Allow the dye bath to simmer for 10-15 minutes or until one of two things happen A) you are happy with the color achieved (this could happen after 30 seconds so don't feel like it needs to stay in the bath if you like the color) or B) The dye bath is exhausted and all the color has been absorbed by your wool. The picture below shows the dye bath water in a clear cup after it has been exhausted.

Sometimes this takes 2 minutes and sometimes it never happens because I'm either too impatient to wait or the fabric is just done soaking up that color. The main thing is that you are happy with the color. If you're not, mix up some more dye and add it to the simmering water and play with the color until you are happy. No need to start over.

6. After the dyeing is complete turn off the heat and carefully remove the wool. I like to use tongs and put it into a bowl to transfer to the sink. Give your wool a cool rinse and when you can comfortably handle it squeeze out the excess water. There should be very little if any color rinsed away. Allow to drip dry or throw in the dryer.

Below are the completed pieces of wool dyed in this tutorial. Each is shown dyed as well as what it looked like originally. Don't be afraid to try dyeing colored and patterned pieces of fabric, sometimes they turn out the best!


Good Luck! Have fun thrifting and dyeing! Let me know if you have any questions!

Lori